I took my flat table ,covered it with wax paper and then laid up 4 layers of 1 oz. fiberglass mat , let set up and then repeated the process and wound up with two flat pieces big enough to cover each of the openings. I then sanded the area on the back side of the body with 40 grit sandpaper on a small hand electric sander and got all of the ridges and bumps out so that the flat pieces I just made would lay flat.
Next I cut the flat pieces about two inches larger than the area to fill. Using fiberglass bondo, I coated the inside around the opening and placed the flat pieces against the body and secured them in place with six sheet rock screws - into pre drilled holes. Then I used a bondo spreader and smoothed out the fiberglass bondo on both sides and let set up. This does two important things: one ,it gives a great deal of strength to the panel by overlapping- and two , it allows the blending of the back and the front to occur. I could have cut the flat panel to fit the opening and beveled both the body and the flat filler piece and then used mat on the back side and fiberglass bondo on the front and eliminated the step in the front. I have found that in this type of situation, that I would rather have the strength that overlapping gives than go the other route. Not that it wouldn’t work, because it definitely would - I just wanted extra strength from the overlap. I then blended the front with some fiberglass bondo to fill some of the lower spots and then finished off with ultra lite bondo.

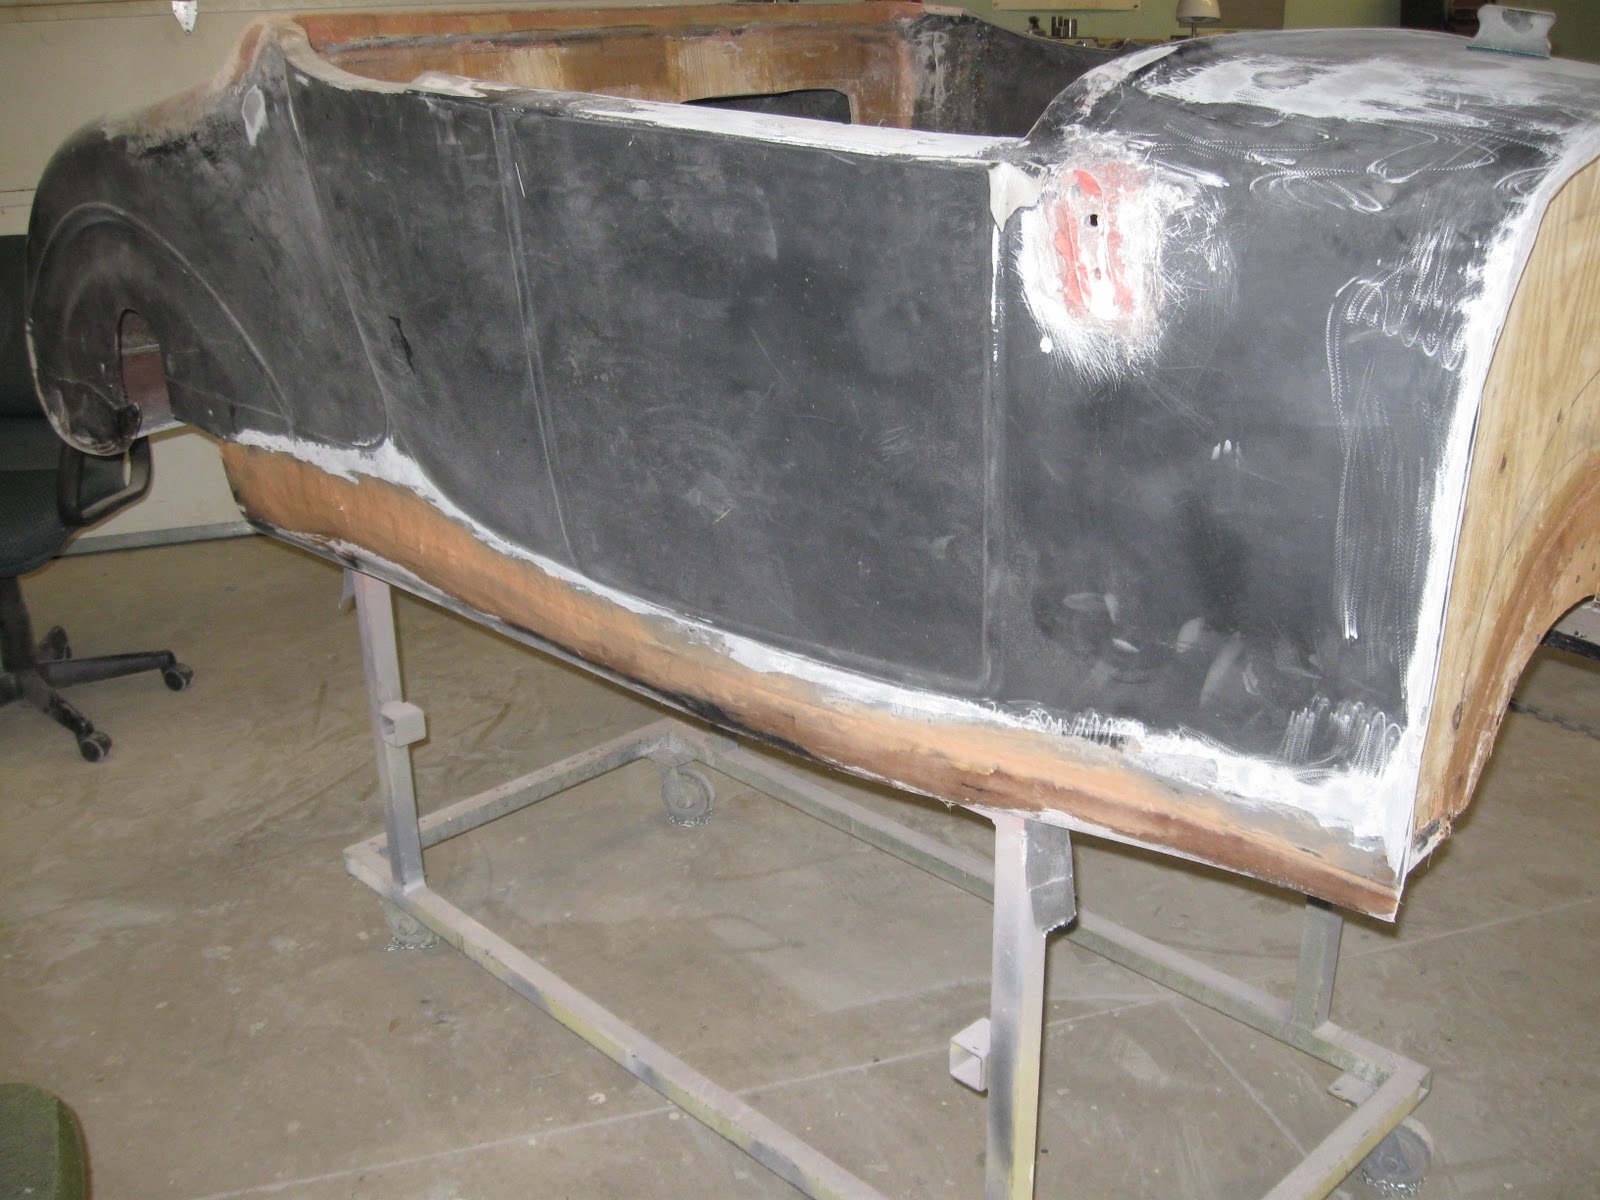
Here you can see what the back side of the filler piece looks like after some extra fiberglass bondo has been spread out and tapered. This give some extra strength and makes it look a little better. I will build a flat panel from Luann plywood and cover it when I upholster the trunk area. This shot also shows the back of the cockpit bulkhead and how I filled the seam with fiberglass bondo to secure it in place and make it more ridged.

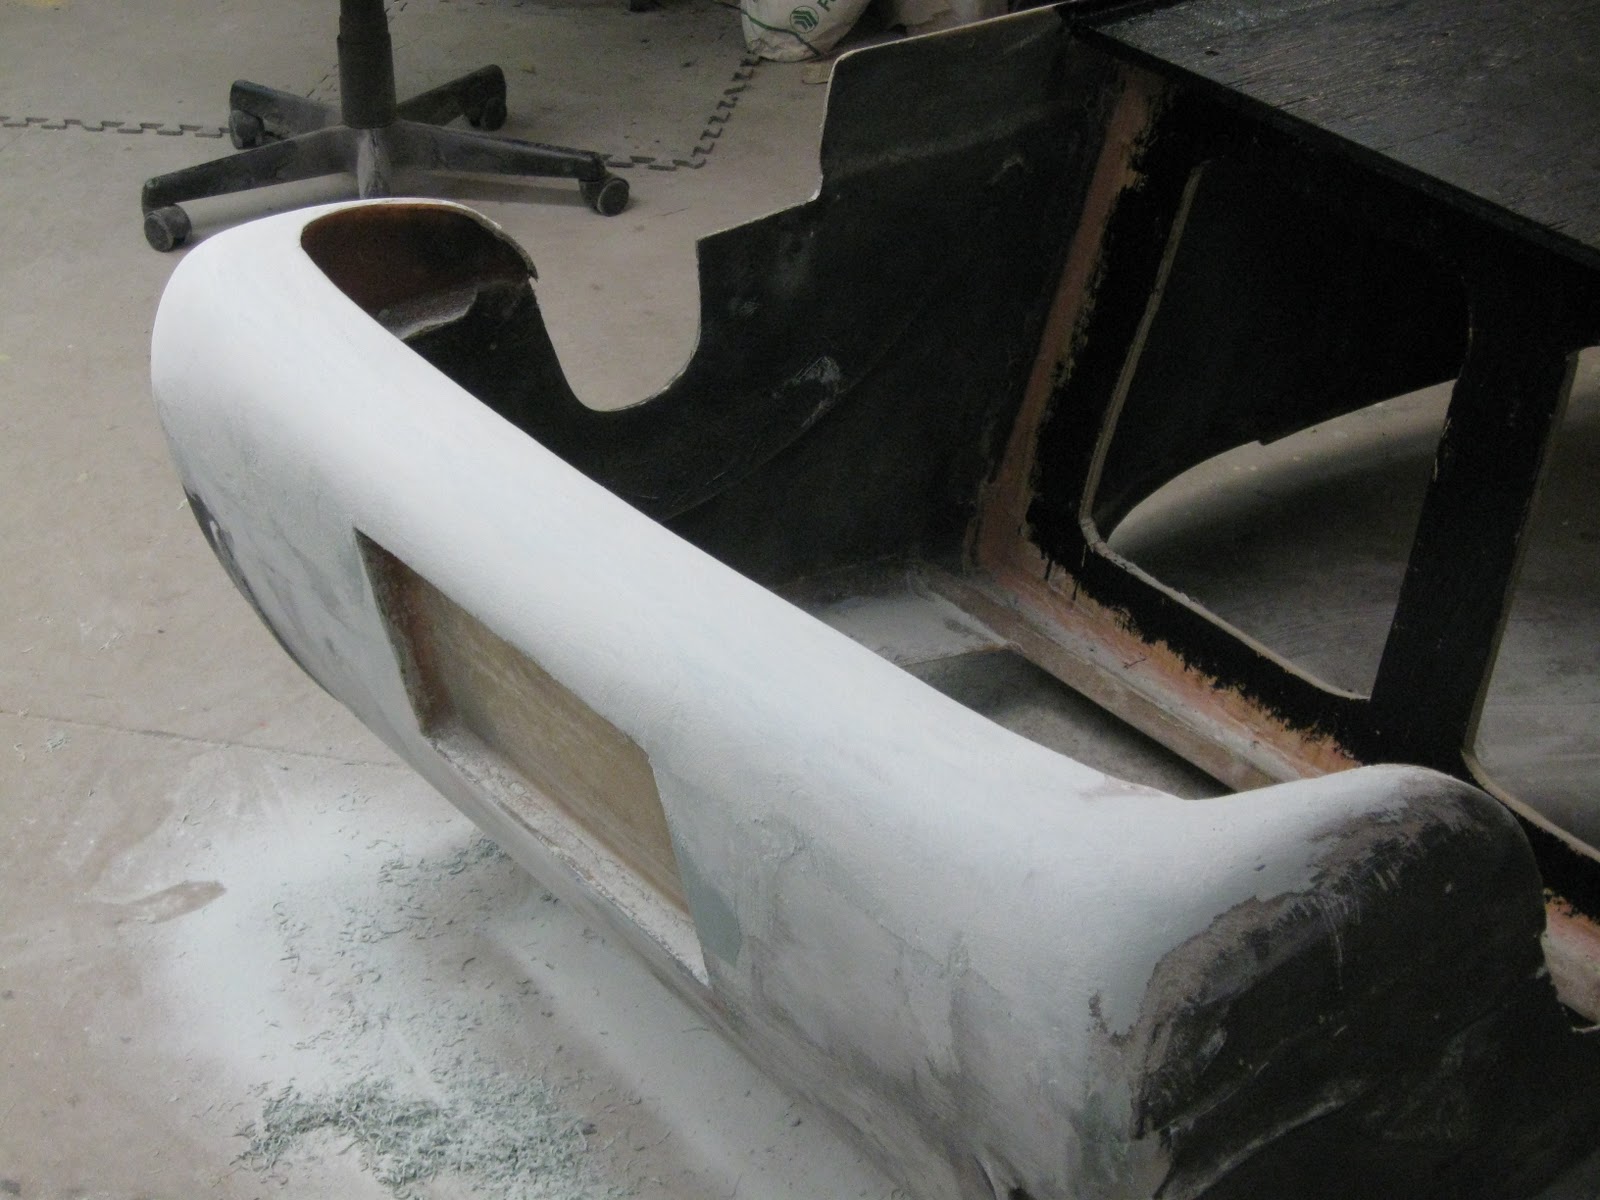
This body has a 4 inch body roll pan installed at the factory and it must have been done on a Monday or Friday because it definitely needed some extra work. I used my electric hand sander and sanded the edges as smooth as possible where the top of the roll pan and the bottom of the body were laminated together , roughed up the gel coat on both sides and then coated the entire length with fiberglass bondo and smoothed it out. After it set up, I again sanded the area and blended it as much as possible , filled in the places I missed or were low and then when they were cured, I used ultra lite bondo and finished blending the two together. It actually came out quite nice.
This picture shows the roll pan and the wheel well after the ultra lite bondo has been applied and sanded. From this point, there is just a little detail work to be done, and then these areas will be ready for the first coat of urethane primer.

No comments:
Post a Comment