This is a shot of the front lip of the body , which is done the same way as the side pieces and the front of the trunk. The hinge was made from a 1/2 in x1 coarse bolt with a 1/4th inch hole drilled in the center. You will need a lathe or a great hardware store to get four ( two for the trunk and two for the body) of these to use as the hinge. I also turned the head of the bolts down to about 3/32ths thick for space requirements. Look closely and the one for the body can be seen in place in the upper end of the passenger side trunk opening. I could have used a different type of hinge, but these work very well, are cheap, and easy to install and work really super! Almost a no brainer.

Here is a great shot of the front and side pieces installed on the trunk lid along with the driver side piece. It also shows how the hinge bolt is held in place . I just use a flat washer and a nyloc and then form a support cone with fiberglass bondo on both the trunk and the body side of the hinge pin bolts. The hinge pin is a 1/4 x 3 unc bolt with another 3 inch bolt welded to the head of the hinge pin. This allows me to remove the pin easily and when I final assemble the hinge, I will put a flat washer with a 1/4 x 20 nyloc nut on the end of the hinge pin to lock it in place.

To get a nice straight evenly spaced gap on the top / front edge, I use two or three pieces of chip board covered with wax paper ( this acts as a spacer ) and taped to the body side of the trunk opening. I first straightened the body edge by sanding and adding fiberglass bondo and using a straight edge to get it the way I wanted. Then force fiberglass bondo in the gap and up against the trunk lid. When set, remove and add more fiberglass bondo to the trunk to fill and even out on the inside against the edge. The same process is used on the sides of the trunk.

This shows what happens after the fiberglass bondo is forced from the top into the side to fill in the gap. Now just fill the bottom where the bondo did not reach, sand and finish.

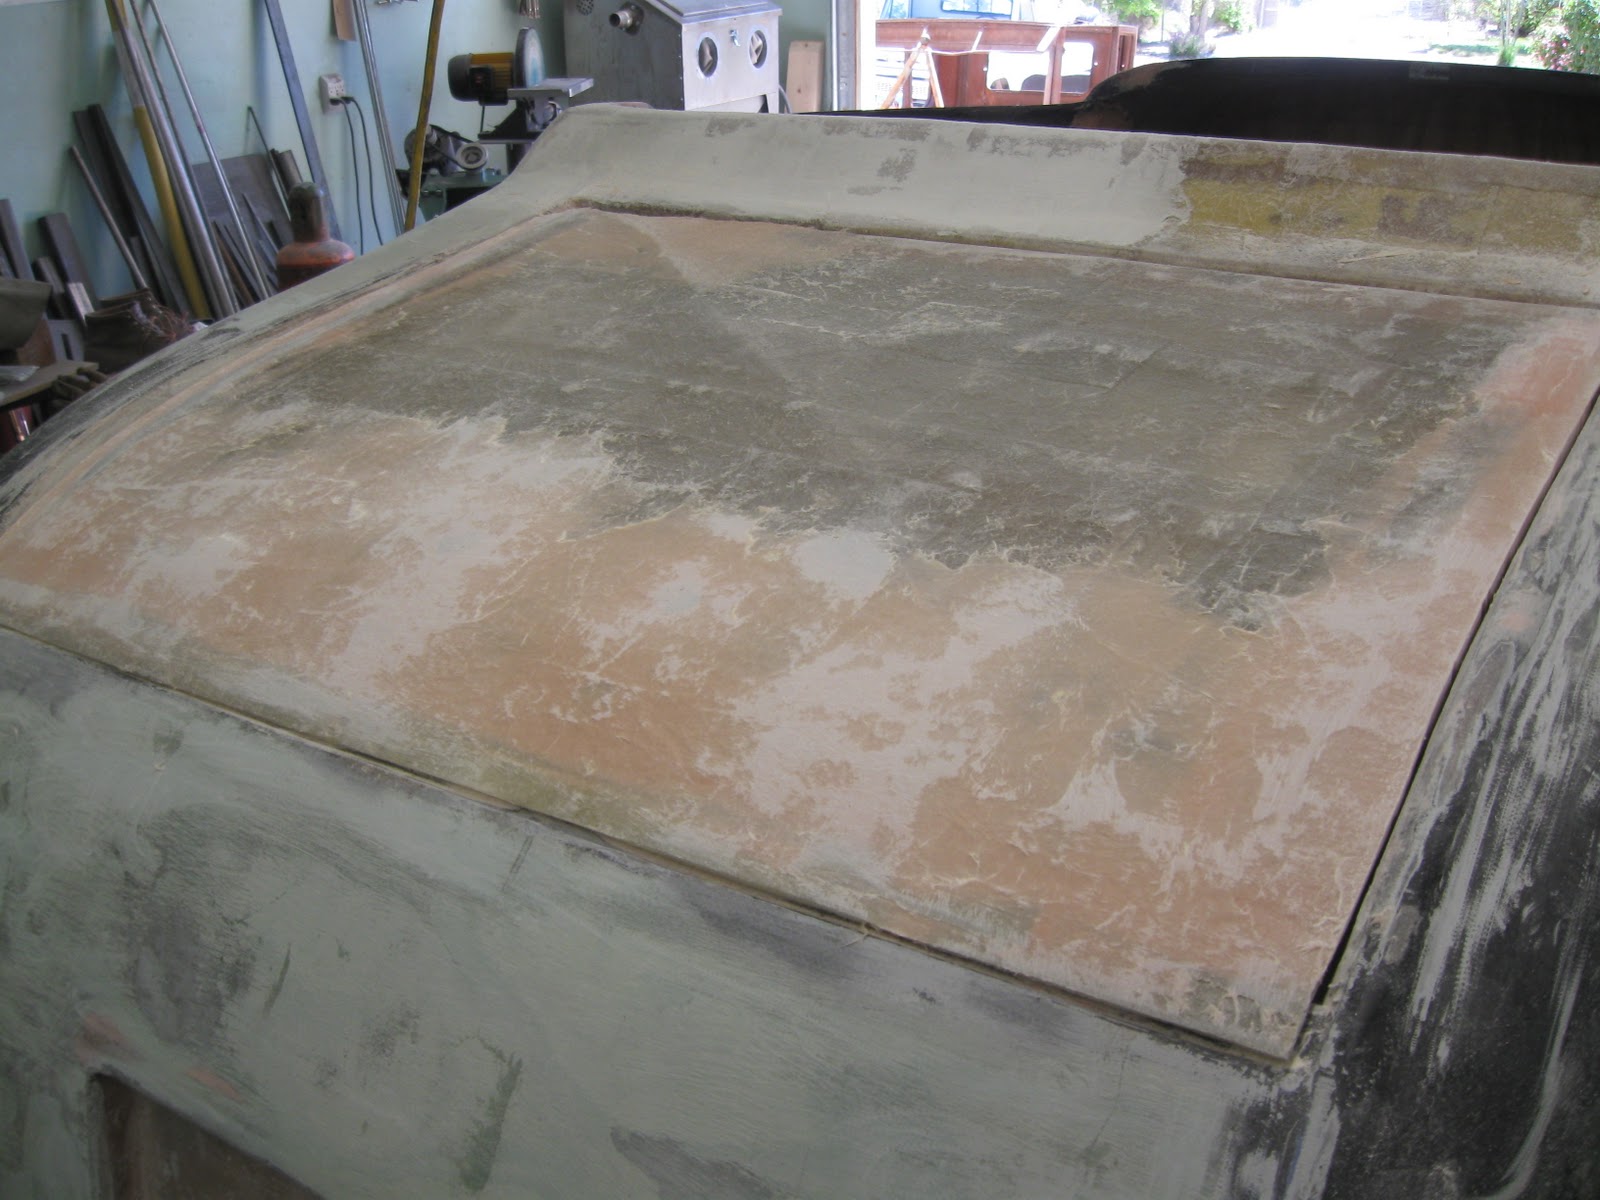
Here I’ve started smoothing with ultra light bondo. The side gaps look real good too!Although it looks like a lot of bondo, there actually Is not that much when all is said and done. In this picture the front gap has not been done yet. Not to bad for a cheap trunk lid. It opens and closes real well and is easily removed. For the latch, I fiberglassed a thin piece of plywood with two 1/4 x 20 x1 in. elevator bolts ( available at Home Depot or Lowes). This will allow the upper latch to be attached to the bolts. I did the same to the inside of the body to hold the lower latch and bracket.